Taste Buds

Dry-Aged Duck Steaks
Hunting is a very important part of our lives, just like it is for many others here in Texarkana. As a community, we are fortunate to have many hunting and fishing opportunities so close to home. The best parts of hunting are twofold: spending quality time with friends and family in the great outdoors and providing quality table fare at home for our friends and family!
We can each look back and remember the first time we went hunting. Nostalgic memories flood in and remind us of that heart pounding moment right before our first big kill. For most of us, the rest is history; we’re hooked, plain and simple. The only real problem we have found with it is that wild duck meat just doesn’t taste that great. If you’ve heard of a duck recipe, chances are, we’ve probably tried it. Between the two of us, we’ve soaked duck in everything—buttermilk, Diet Coke, even saltwater, trying to hide that “duck taste.” We’ve questioned all the old timers about how they prepare and cook duck, and their most common advice was to boil the ducks in a big pot of water with onions and butter, and then throw out the ducks and eat the onions!
All joking aside, beyond the traditional “wrap in bacon, stuff with cream cheese, and add jalapeno,” which would still have that touch of liver and lots of game flavor, mastering a recipe we truly enjoy has been a challenge, to say the least… that is until we were introduced to and brave enough to try dry-aged duck steaks.
Dry aging meat is a process that allows the meat’s natural enzymes to break down connective tissue, resulting in more tender and flavorful meat (Thanks to Google for that information.). As much as we would love to rattle off the specific science behind the process of dry aging meat, we are just a couple of hunters who tried this method about six years ago, and we haven’t looked back since. Let’s jump into the step-by-step process we use to prepare these ducks and get them ready to eat!
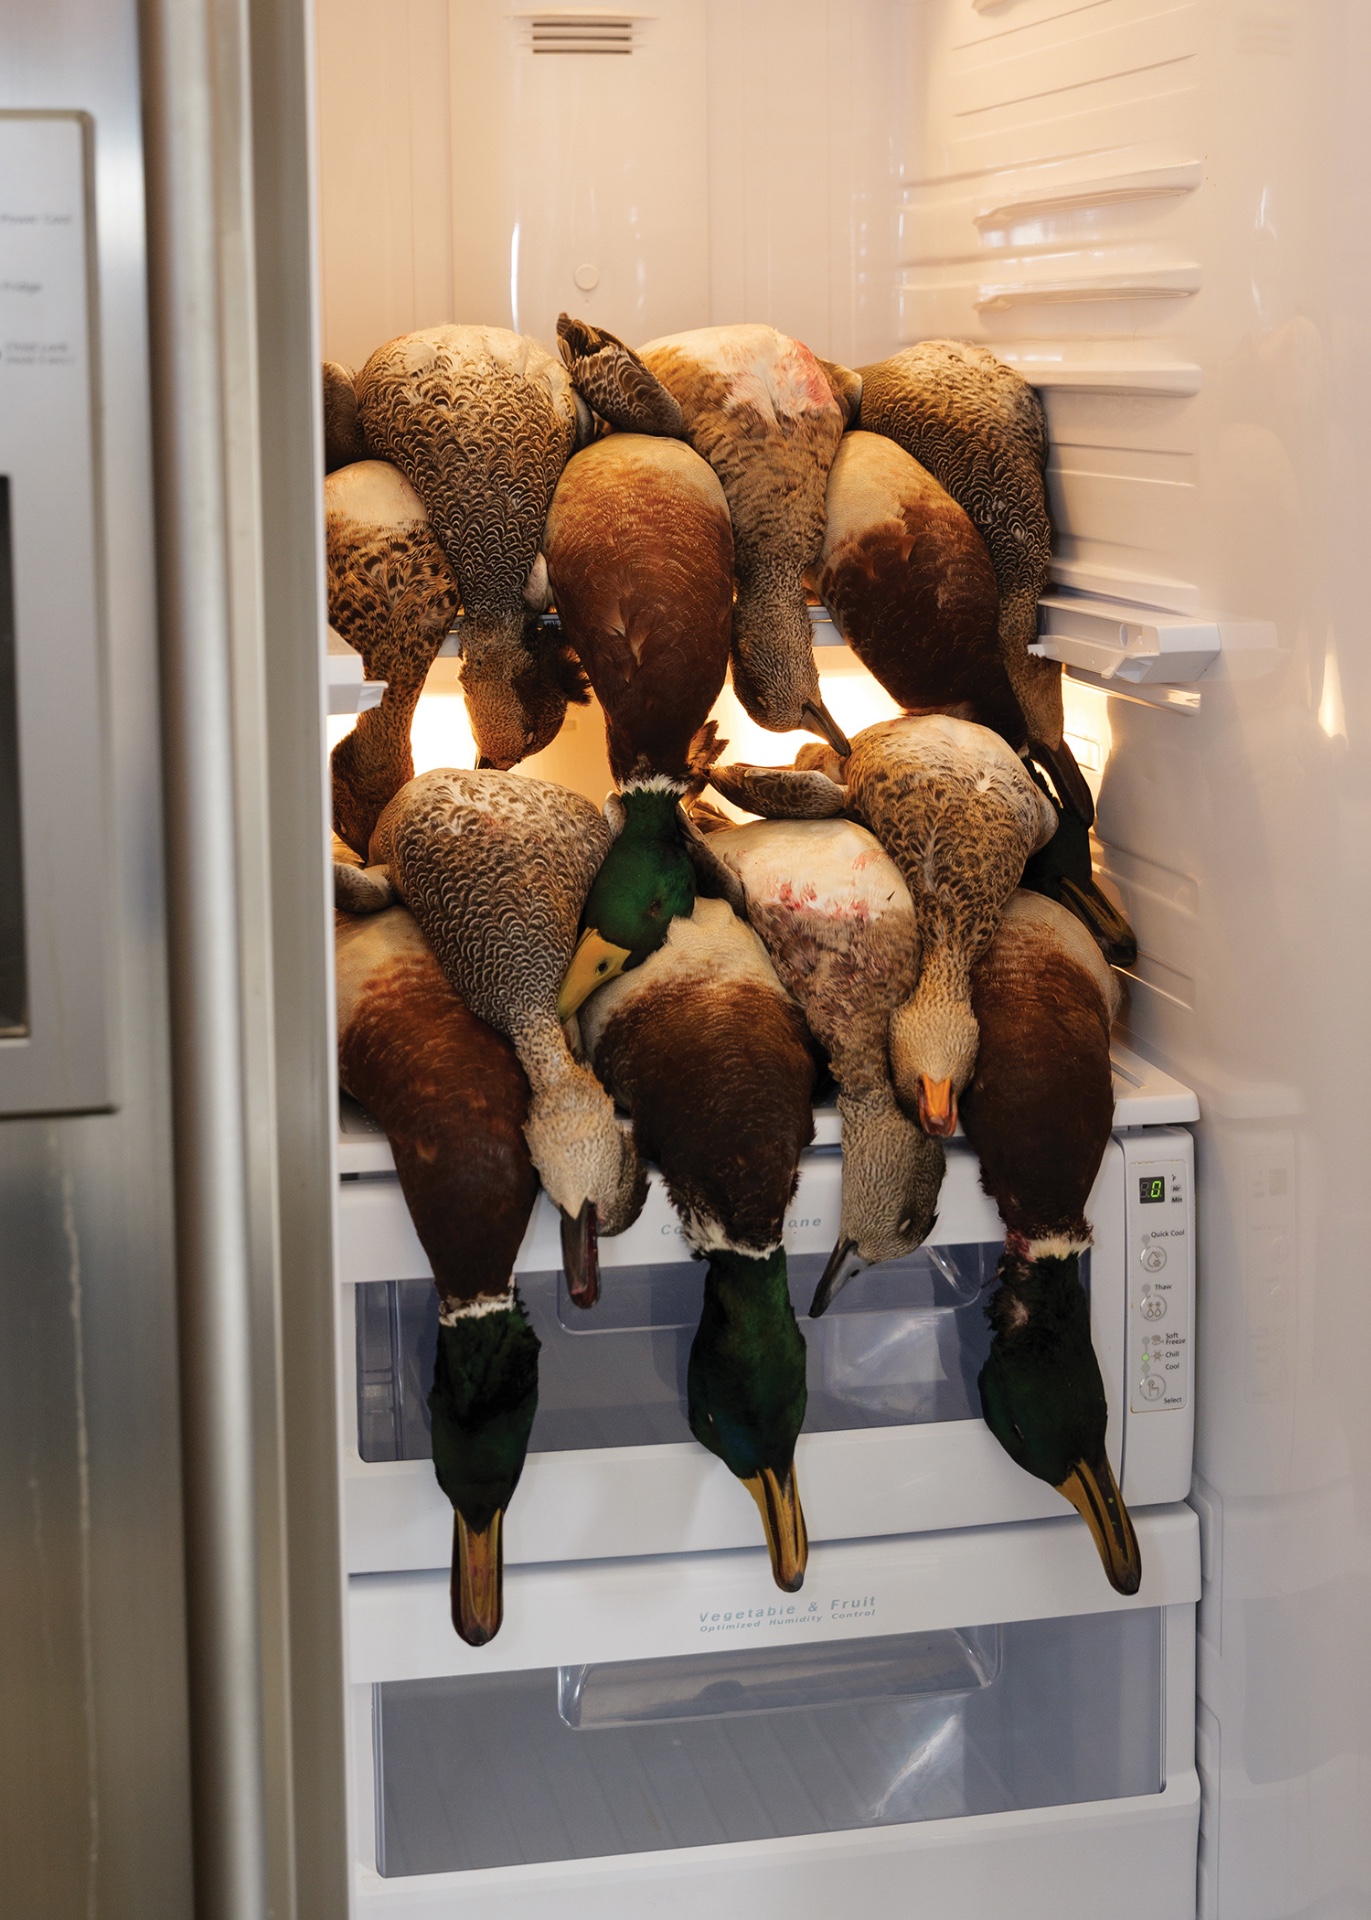
The first thing you will need is refrigerator space for seven to ten days. Your refrigerator temperature should be around 34-36 degrees. If you are a single hunter, this probably isn’t a big deal. But, if you are still living at home or are married, you’re going to want to run this next part by the lady of the house (or ask for forgiveness rather than permission). On an empty shelf, place your ducks belly-up on their backs, fully intact. Don’t pluck them or gut them. Put them in straight from the strap. In the event the birds are soaking wet, let them air dry separated out on the ground, if possible. This will help with odor control. If needed, you can double-stack the birds on the shelf. You want to make sure that, with all the innards inside, gravity does its job. Leave them in the refrigerator for a minimum of seven days, but you can go as many as ten.
After seven days, your birds will be ready to pull from the refrigerator and be processed. There are many ways to clean a duck, but my preferred way is to pluck the feathers off the bird and leave the skin intact. The duck fat and skin will be rendered down in the cooking process and provide great flavor. Once the feathers and pin feathers are removed from the skin, remove the breasts from the breastbone. Rinse the breast off with clean water, remove any feathers you might have missed, and pat dry. From this point, let them warm to room temperature, or vacuum seal them and put them in the freezer.
When you’re ready, here is what you will need to cook dry-aged duck steaks for four people...
- 8 Mallard Duck Breast or 12 Teal or Wood ducks
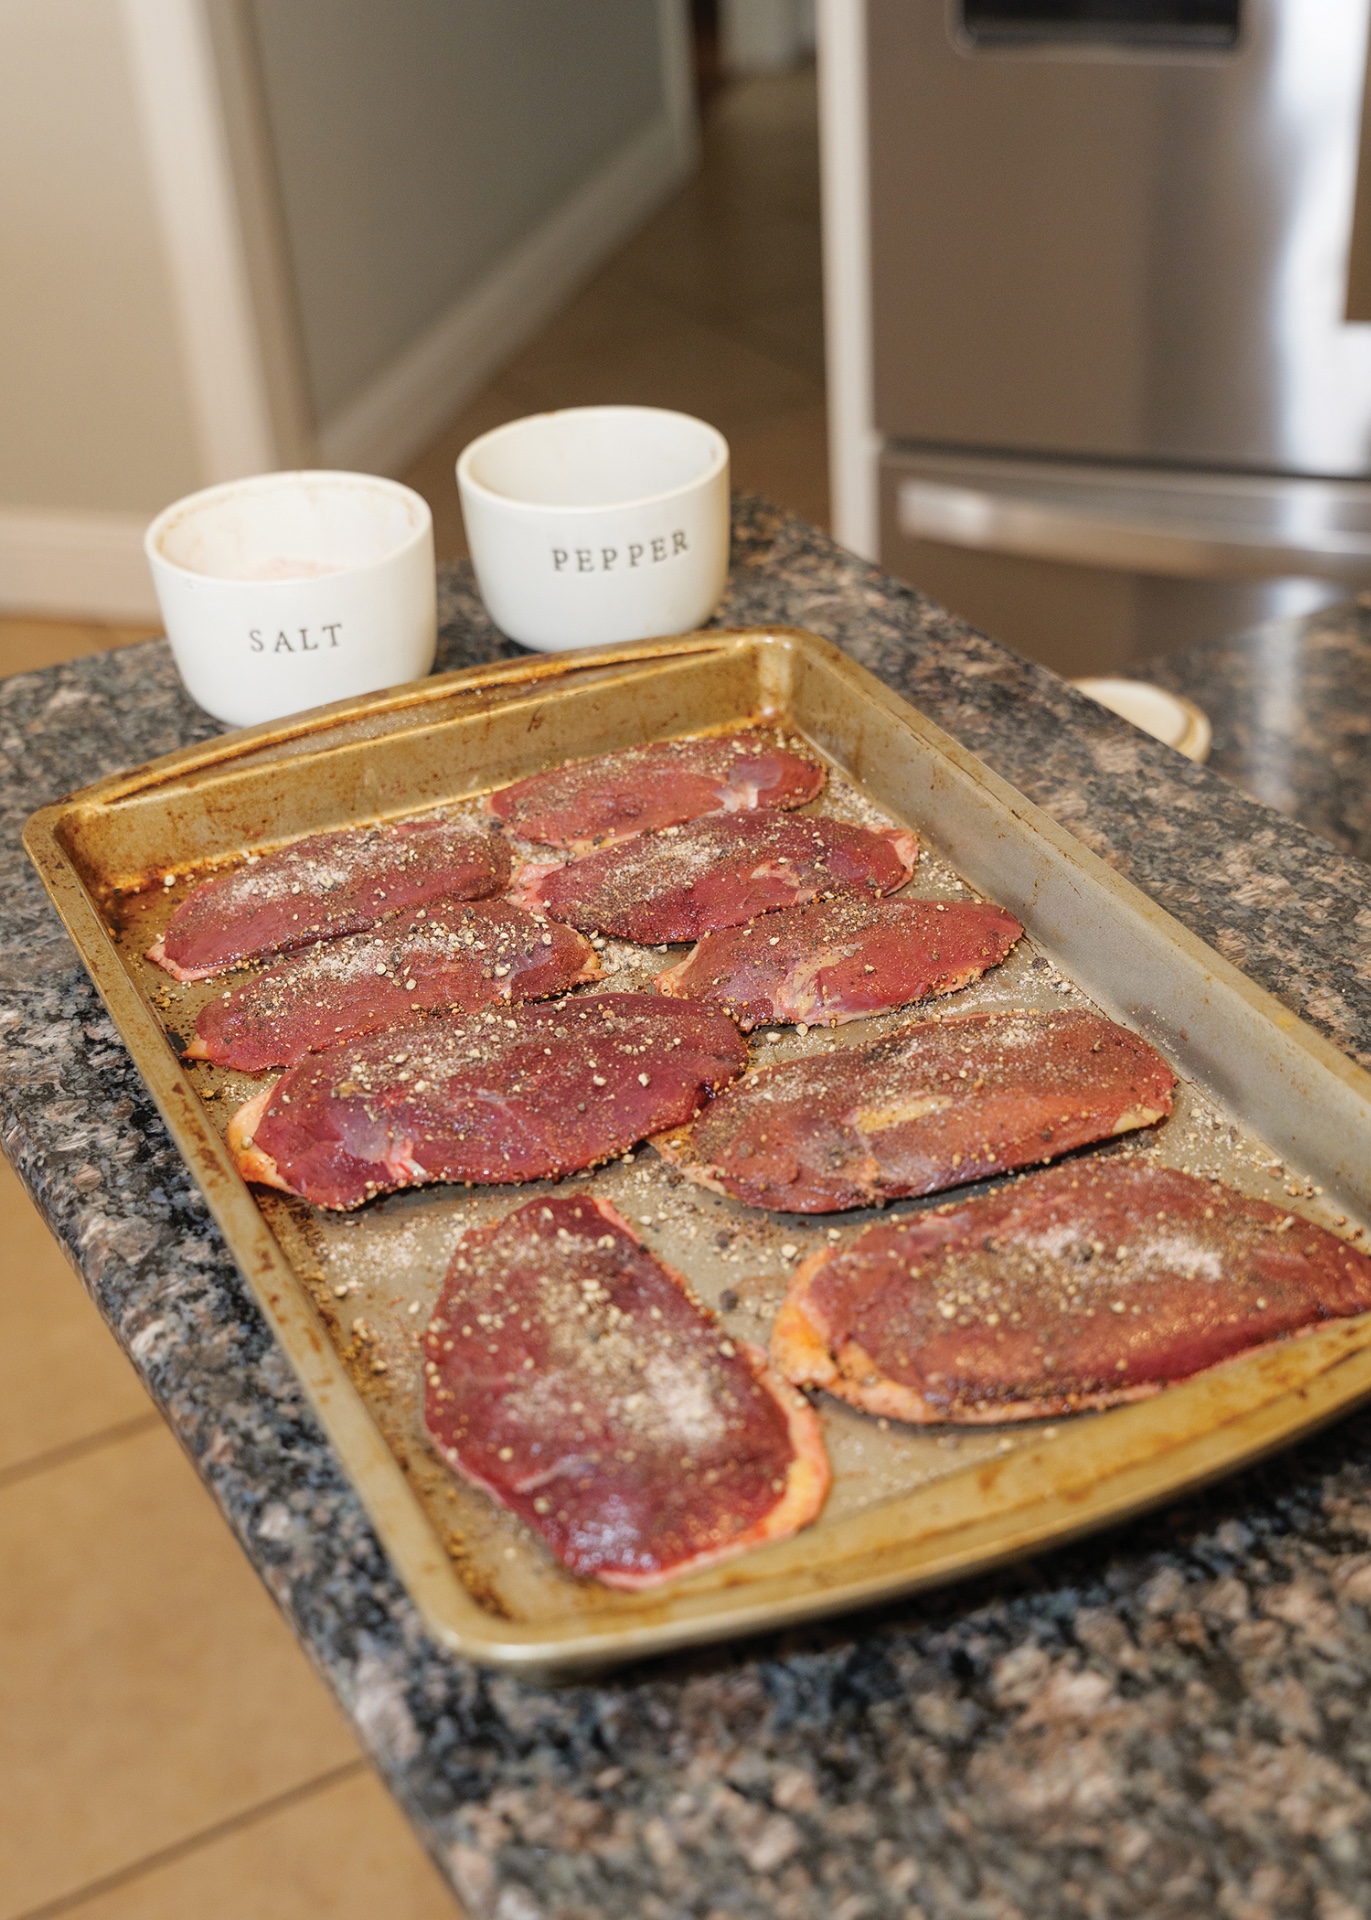
- salt and pepper or your favorite steak seasoning
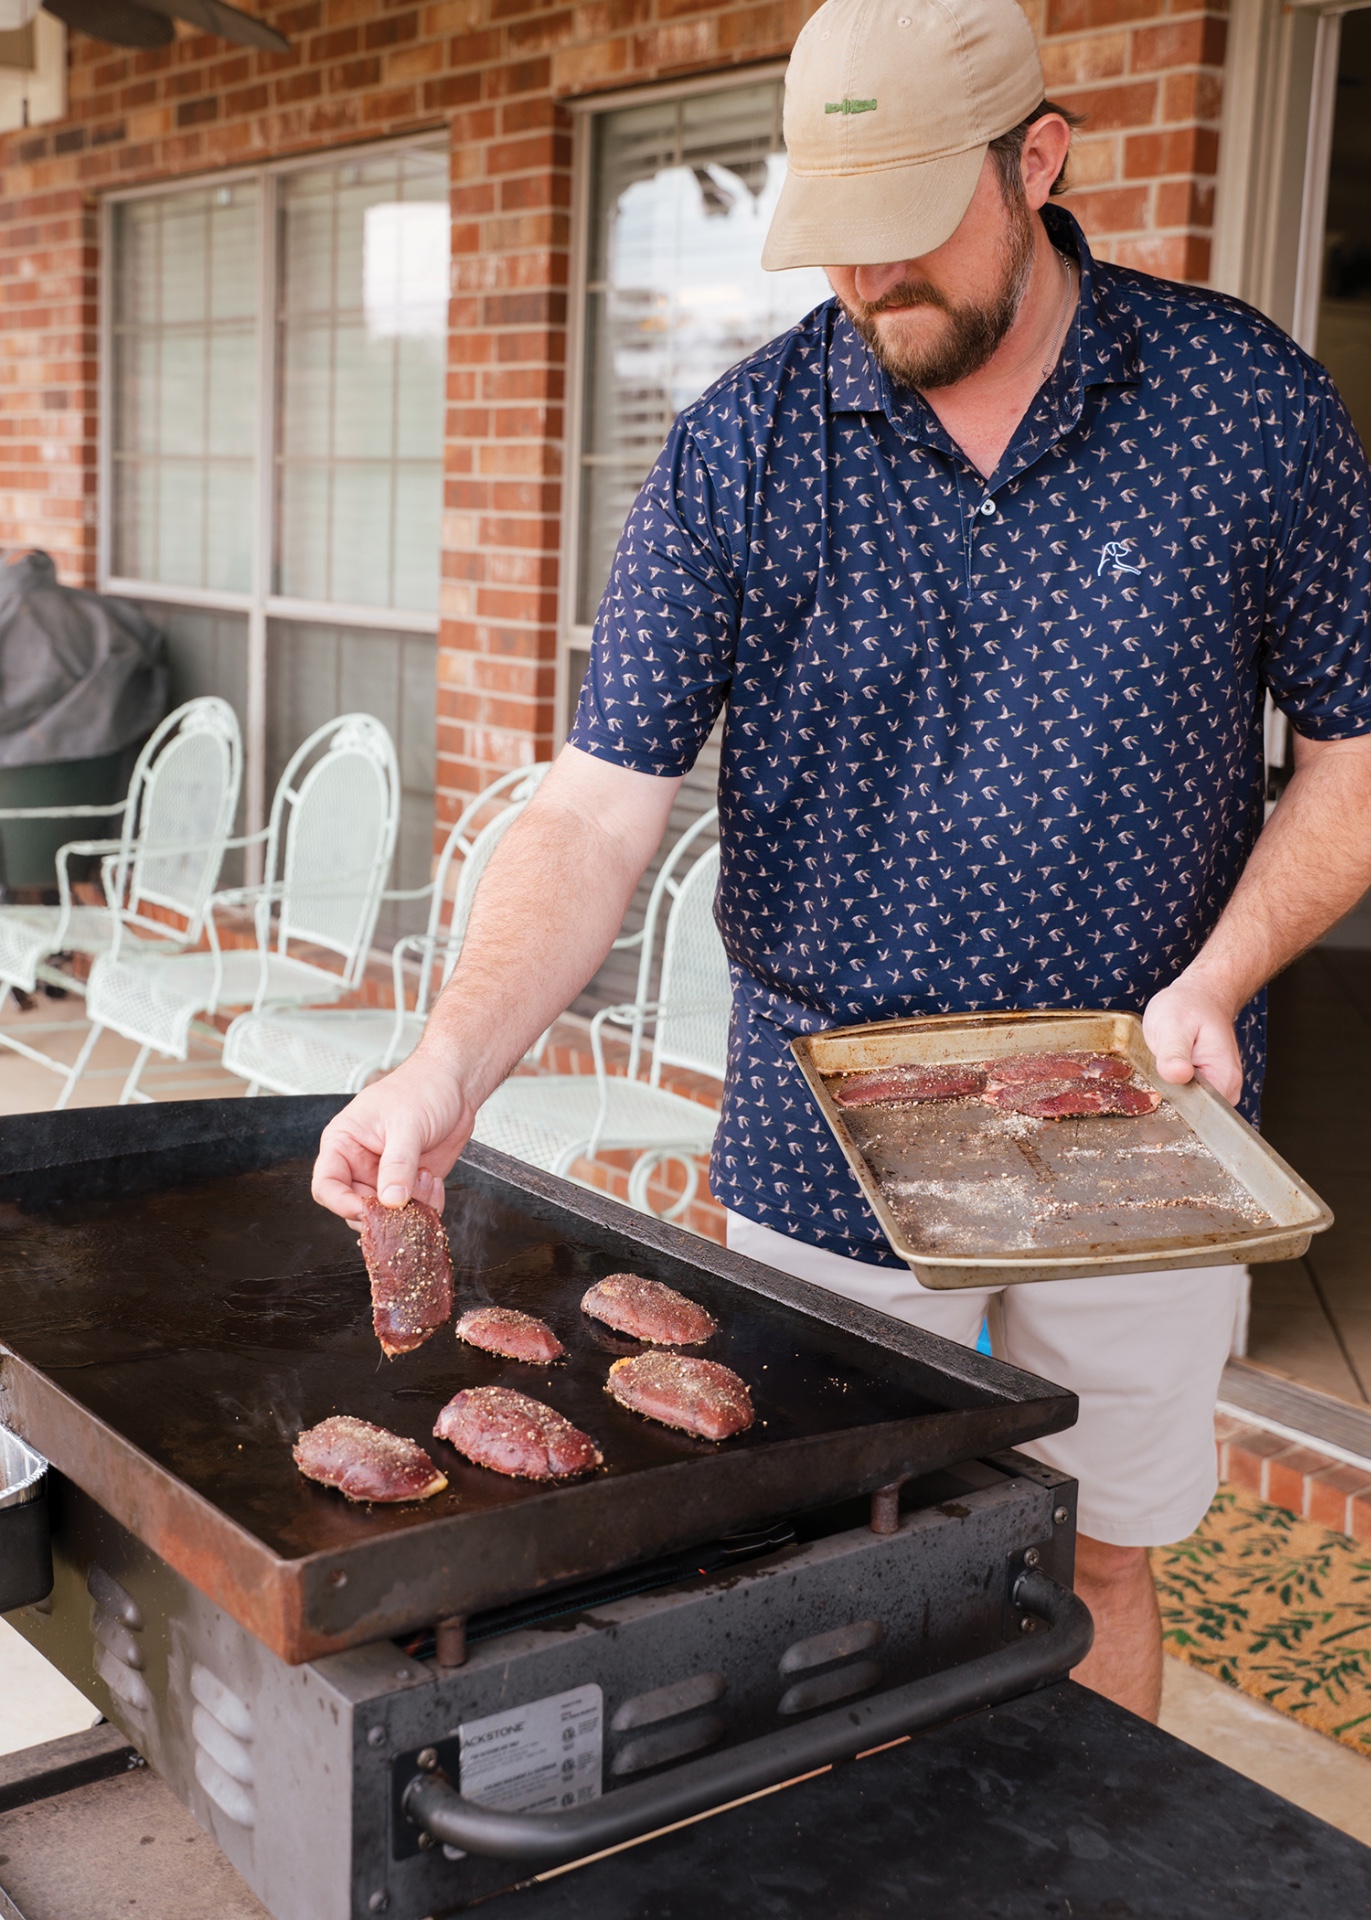
- cast-iron skillet or Blackstone
- olive oil
- a meat thermometer
- aluminum foil
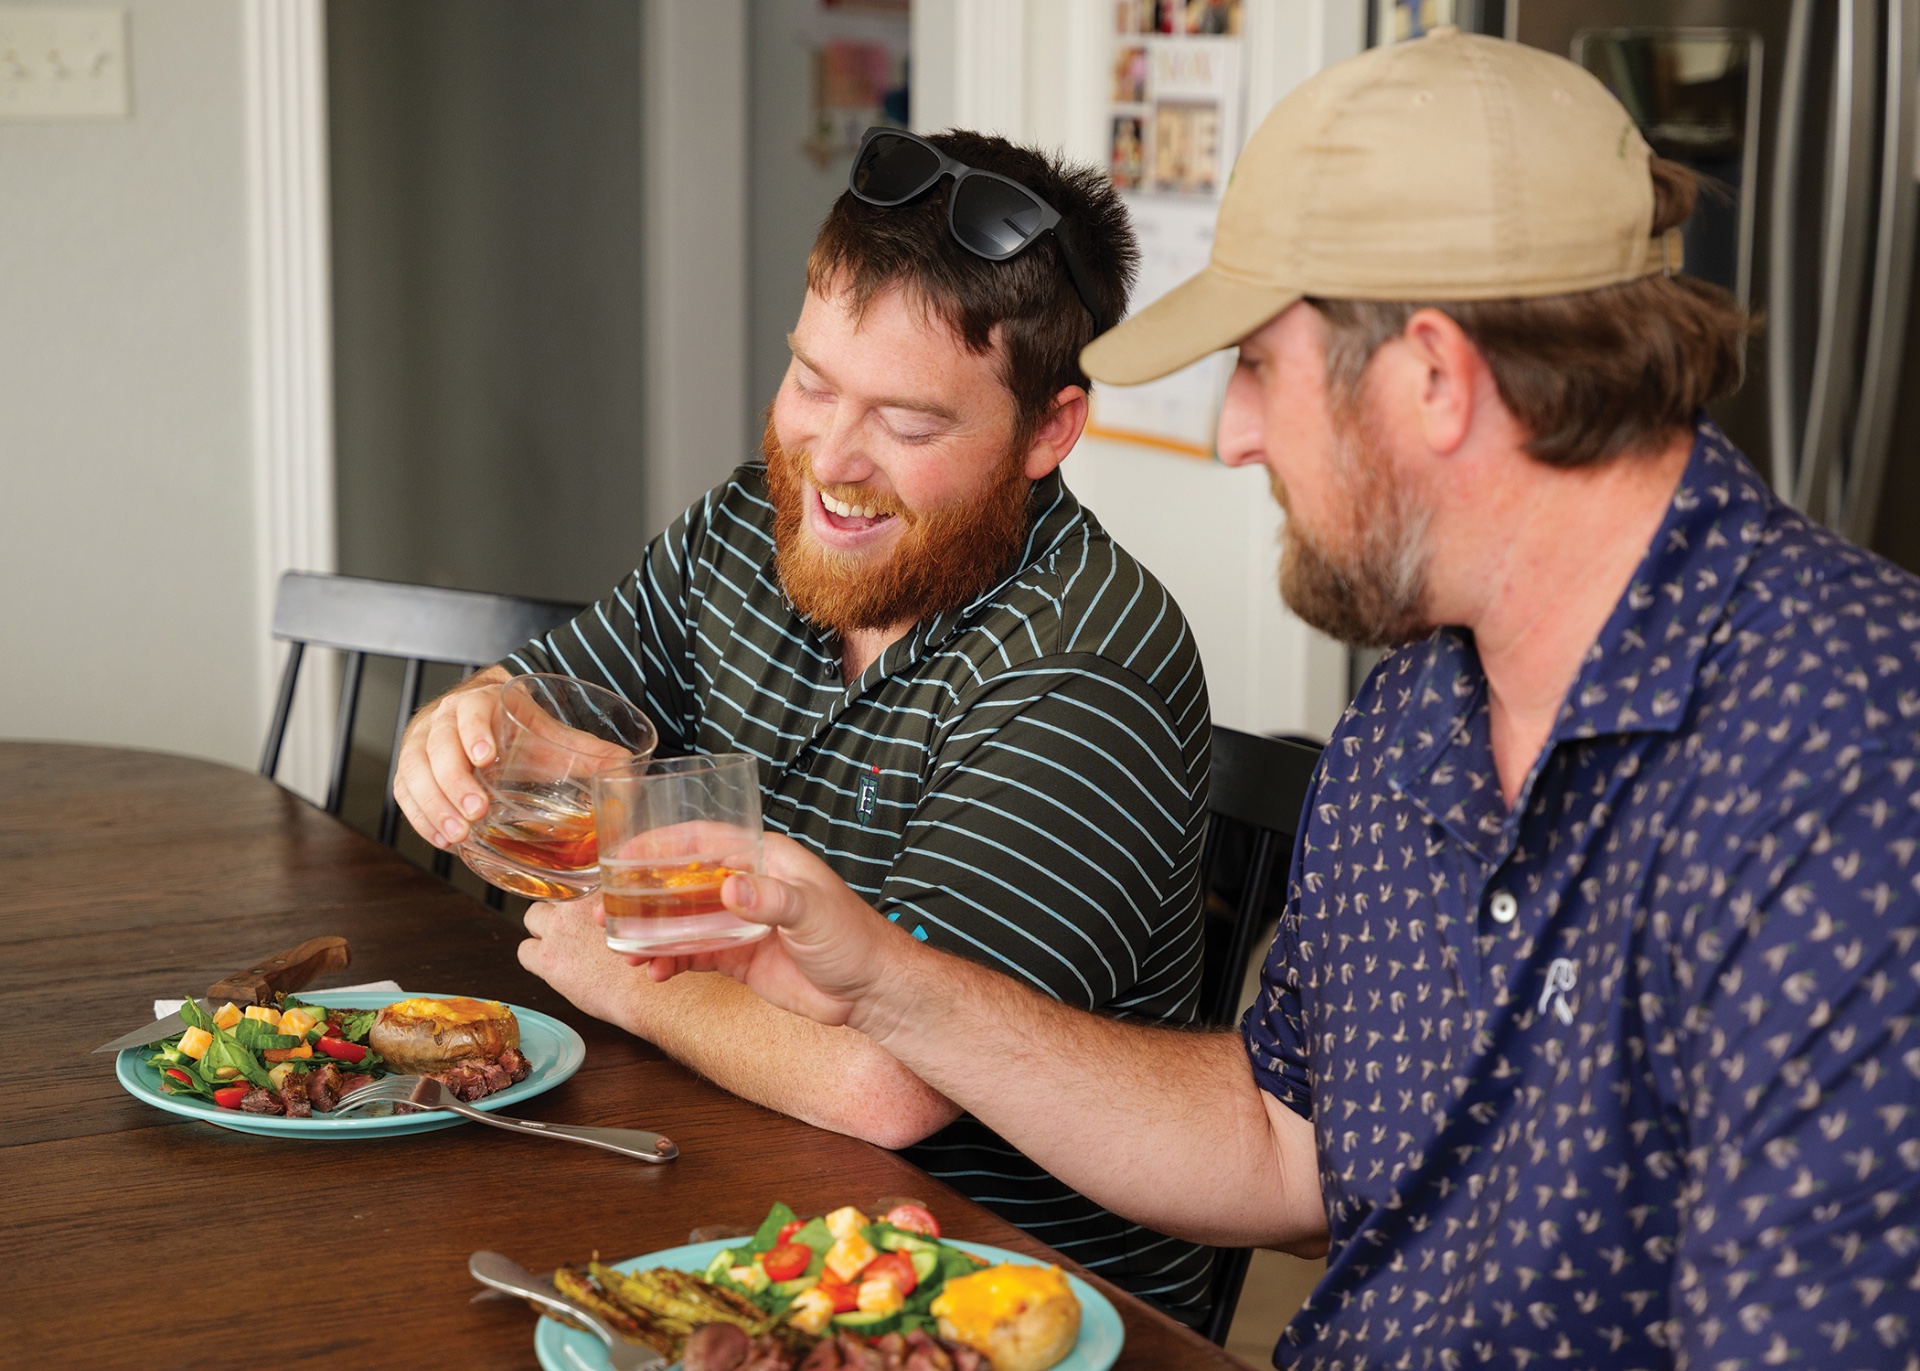
- your family’s favorite side dishes (We love a side salad, asparagus, and twice baked potato!)
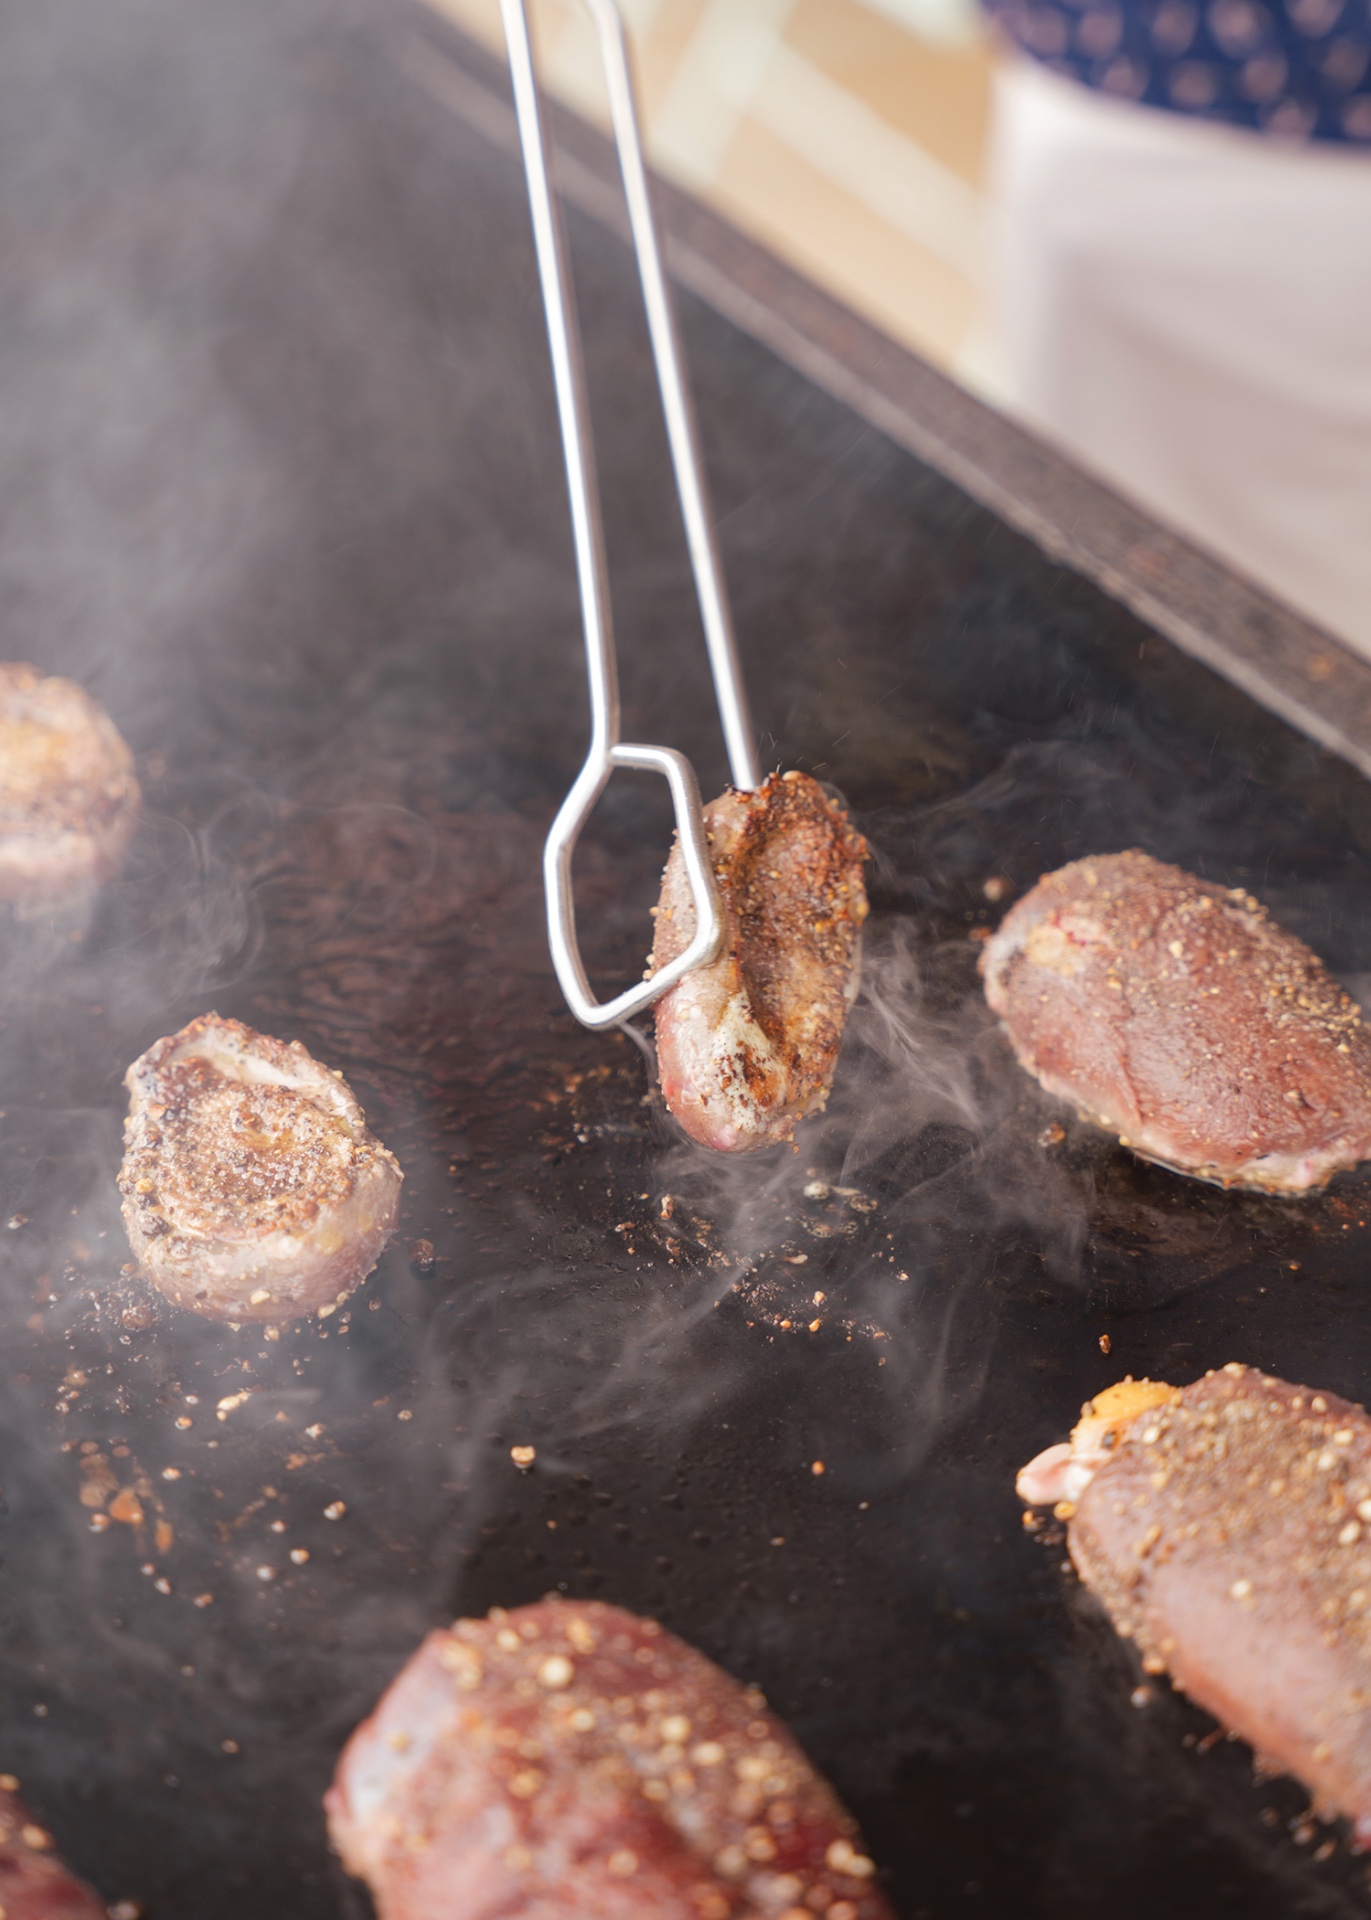
Once your ducks have made it to room temperature, season the breasts on both sides. You’ll want to get your skillet as hot as possible. We like using a gas flame, but if you don’t have that, make sure the burner is on high. Add the olive oil to the skillet, just enough to coat the bottom (we’re not deep frying here). When the oil is hot, place your duck breasts in the skillet, skin sides down (beware of the oil popping). Leave the skin side down for about 90 seconds or close to two minutes, then flip them over and do the same thing. After the flip, check the temperature with your meat thermometer. You should be getting close to 120 degrees internal temperature. If not, leave them in the skillet, still skin down, until you reach that temperature.
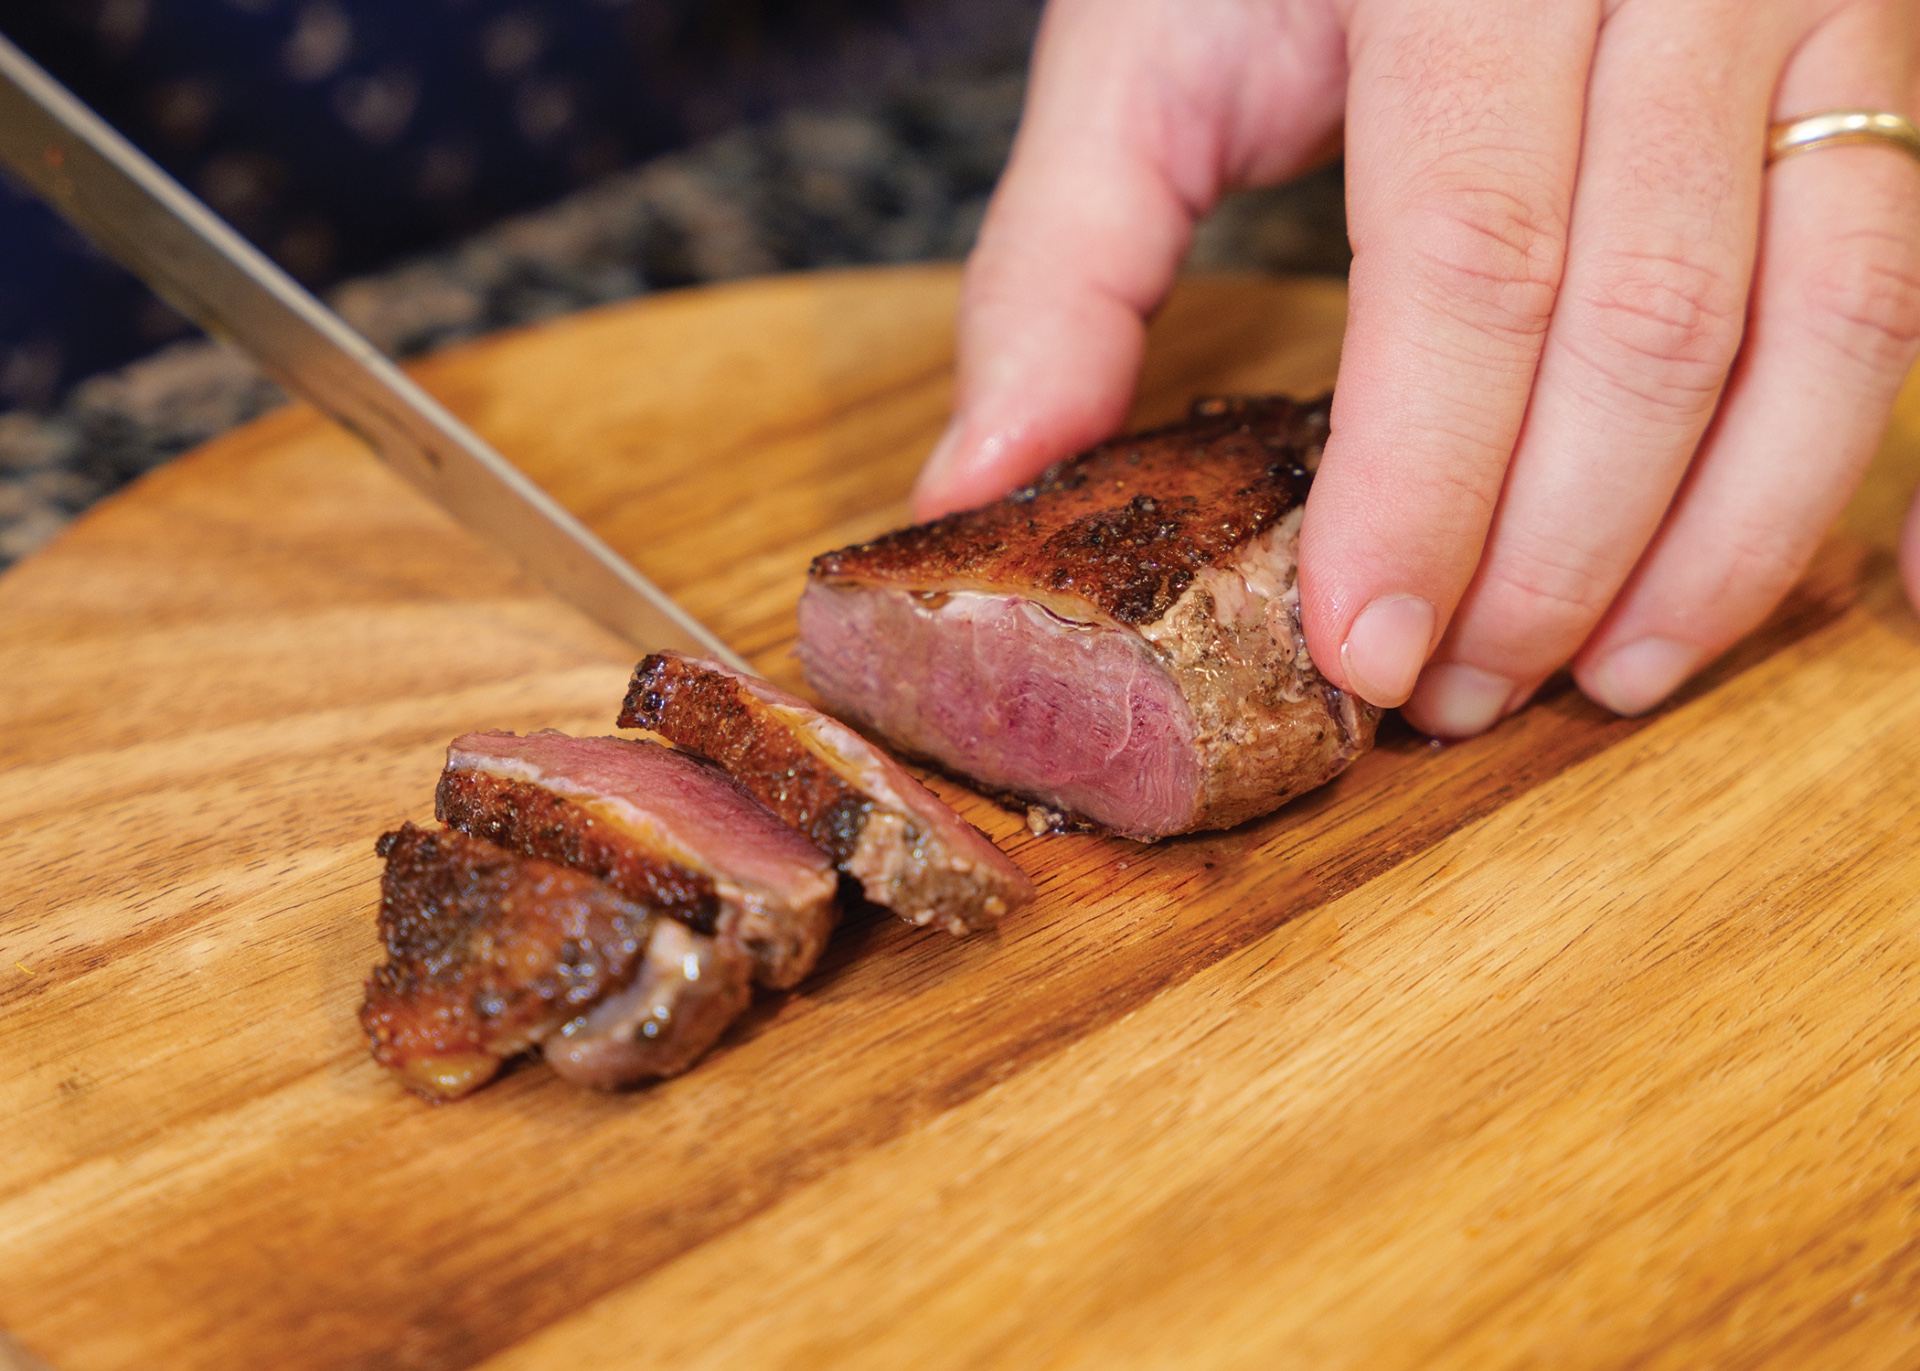
Once they have hit 120 degrees, pull them off and lightly wrap them in foil, and let them finish cooking there. The temperature should rise to 125 or 130 degrees in about three to five minutes. Slice (across the grain) and serve. The duck will probably look a little on the rare side, but that’s where we think they taste best. If you want to cook them longer, go for it, but we would not recommend going past medium well.
This process may sound crazy, and trust us, we were pretty skeptical at first, but if you are tired of having to work extra hard just to mask that duck flavor, give dry-aged duck steaks a try!